Showing posts with label tutorial. Show all posts

Sunday, September 04, 2011

The Beauty of Wastepaper

We were talking on the Dutch Art Journaling Forum about protective sheets on our desks to catch sprays and splatters from ink. They are not easy to find here in the Netherlands.

Personally I prefer to 'catch' all these ink and paint spills on thin rice paper, let the paper dry and re-use them again.

Even stamps are 'cleaned' on these sheets by stamping them untill all the ink or paint has been absorbed by the paper.
This means less cleaning to do in the sink. And adds fun motivs to the wastepapers too.

Just place a page under the page you are working on, and one on the opposite page as well. You can also brush leftover paints from your brush unto these papers before rinsing the brush.
After a while the papers have become pieces of art on it's own - spontanious splashes of colours in unexpected colour combinations. Use them in collage and as a background for wordstrips!

----------Dutch Translation----------

Op het Nederlandse forum Art Journaling en Mixed Media hadden we het over speciale vellen om je werktafel te beschermen tegen verf- en inkspetters. Deze kun je niet zo gemakkelijk vinden in Nederland.

Zelf prefereer ik dun rijstpapier om deze spetters op te vangen. Ik laat ze drogen en gebruik ze dan weer opnieuw.
Zelfs stempels worden 'schoner' gemaakt door ze eerst op zo'n vel te stempelen totdat de verf of inkt door het papier is opgenomen.

Je hebt dan minder schoon te maken in de wasbak of gootsteen. En bovendien heb je ook nog eens leuke motiefjes staan op je 'restpapiertjes'.

Na verloop van tijd worden de papiertjes vanzelf kleine kunstwerkjes: spontane spetters kleur in ongewone kleurcombinaties. Gebruik ze in collage of als achtergrond voor woordstrips!

Thursday, September 01, 2011

Tutorial: using existing books as a journal


TJ from Studio Mailbox sent me this book a while ago for me to alter. I am planning to use it as an art journal and thought it would be fun to share the preparing of the book here with you.


This book had hard covers and a sewn binding: ideal for altering the book. The paper inside is a bit old, but not yellow or brittle at all. This means that I have the perfect base to start with.


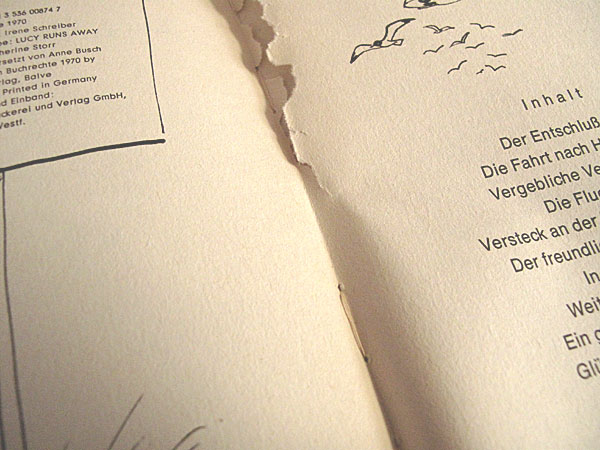
To make room for all the painting and collage, I rip out several pages so that the binding will be able to hold all the extra weight that will be added.

Sometimes, I will tear out as much as half of the amount of pages that are in the book!
After tearing out a page, look for the opposite page that is now loose in the book. Remove this one too.

It always feels a bit wrong to tear out pages, but the spine will not hold long if you are not brutal enough at this point.
You can save the pages and illustrations though for collage. And you can always use the text for Found Poetry.


The next step is glueing several pages together to strengthen the paper. This way it will be able to carry all the paint and collage even better.
In this book I will glue 2 pages together. If the paper was thinner, I would even glue 3 pages together.


My favorite glue to use at this point is Gel Medium, you can buy these in big cheap(er) pots in art stores.


Place a waste paper behind the page that you are going to glue. Brush the glue on, press the other page to it and use a plastic old ID or credit card to smooth it over.


 Let the book dry completely. As long as the glue has not dried, it will be too fragile to work in.

My favorite way to prep a page is to start with a thin layer of gesso. Just the process of brushing this over the pages is relaxing and often opens up my ideas and inspire me.

The cover is almost always left as the last thing to do. When the journal has been filled, I know what I want to put on front. It is all about keeping open to possibilities, though you could say that it is all about not being able to make a choice as well... :-)

Have you been using existing books as an art journal? Or do you buy blank books for journaling?